Lift Safety Essentials for Auto Shops
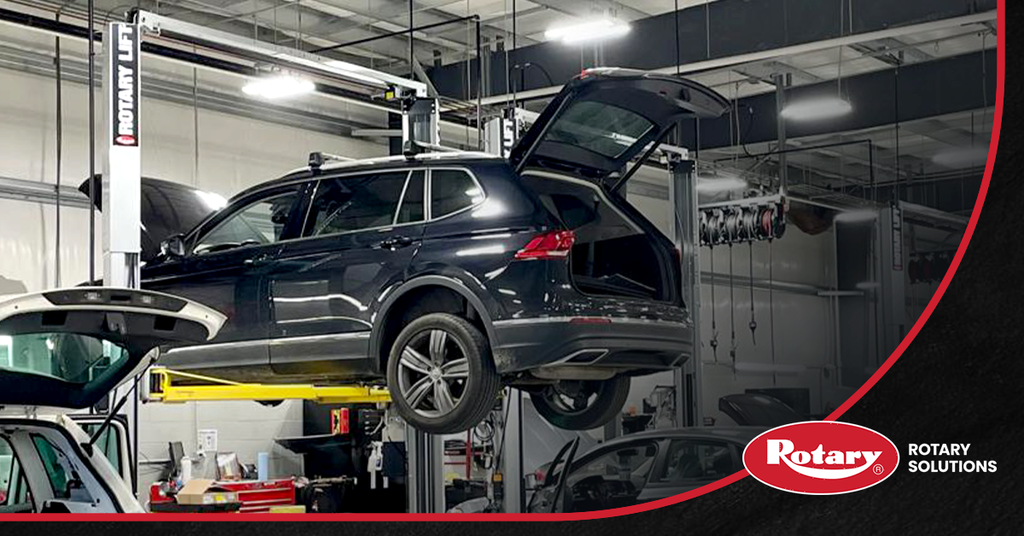
Vehicle lifts handle some of the heaviest loads in your shop, often suspending several thousand pounds directly over technicians. A single failure can sideline a tech, total a customer’s vehicle and trigger insurance and OSHA scrutiny that takes months to unwind.
Thankfully, lift incidents are preventable when your shop follows a proven safety framework. This lift safety guide walks through the daily inspections, operating procedures, training standards and compliance checkpoints every shop needs.
Daily Car Lift Safety Inspection Checklist
Daily inspections represent your first line of defense against car lift safety incidents. Run a clear checklist before every shift.
Structural and Surrounding Area Check
Start with the lift’s foundation and workspace:
- Verify floor conditions: The surface should be level, dry and free of oil, coolant or other fluids.
- Inspect columns and posts: Look for cracks, rust, deformation or structural damage.
- Check anchor bolts: Confirm all mounting hardware remains tight and secure.
- Assess overhead clearances: Check for interference from lights, cables, HVAC ducts or obstacles.
- Clear the bay: Remove tools, parts and debris from the lift area.
Hydraulic, Mechanical and Electrical Check
Next, examine the systems that power and control the lift:
- Inspect for hydraulic leaks: Check cylinders, hoses, fittings and the reservoir.
- Examine cables and chains: Look for fraying, kinking, uneven wear or broken strands.
- Test electrical components: Verify power cords show no damage or exposed wiring.
- Check air lines: On pneumatic systems, inspect air lines and fittings for cracks or leaks.
- Listen to the hydraulic pump: Whining, grinding or unusual noise indicates internal wear.
Operational and Safety Lock Check
Complete your inspection by testing functional components:
- Test controls: Verify all switches, buttons and foot pedals respond correctly.
- Confirm safety lock engagement: Raise the lift slightly, listen for the audible click and visually verify locks have seated.
- Check for symmetric movement: The lift should rise evenly without tilting.
- Test the emergency stop: If equipped, confirm it functions and can halt operation immediately.
The Step-by-Step Vehicle Lifting and Lowering Process
Proper auto lift safety depends on following a precise sequence every time. Each step creates checkpoints that catch positioning errors before they become incidents.
1. Spotting and Load Positioning
Before you raise a vehicle, confirm its weight falls within your lift’s rated capacity. Check the doorjamb sticker for the gross vehicle weight rating (GVWR), consult the vehicle specifications online or use in-ground scales.
Drive the vehicle into position and spot it carefully. On a two-post lift, center the vehicle between the posts and verify you can open the doors without contact.
On a four-post lift, drive onto the runways straight and centered. Once positioned, set the parking brake, turn the vehicle off and exit.
Adjust swing arms and position adapters at the manufacturer’s recommended lift points, which you’ll find in the owner’s manual or marked on the vehicle’s pinch welds and frame rails. For drive-on lifts, chock the tires before raising the lift.
2. Raising the Vehicle and Engaging Safety Locks
Raise the lift until the adapters just contact the vehicle’s lifting points. Stop and verify each adapter sits securely, adjusting if the contact looks uneven. Raise until the tires clear the floor by several inches, then stop.
Now perform the shake test by firmly pushing the vehicle from the sides and corners. This reveals adapter placement issues while the vehicle sits low enough to correct safely. Once stable, raise to your desired working height and confirm safety locks have engaged both audibly and visually.
3. Lowering to Locks Before Going Underneath
Never work under a vehicle supported only by hydraulic pressure. Always lower the lift onto its mechanical safety locks before starting repair work. You should hear and feel the weight settle as locks take over.
Check for slack by attempting to lower the lift slightly — if locked properly, the hydraulic system goes slack and the load is now bearing on the mechanical locks. Rotary lifts equipped with LockLight technology provide visual confirmation that locks are engaged.
4. Returning the Lift to Rest
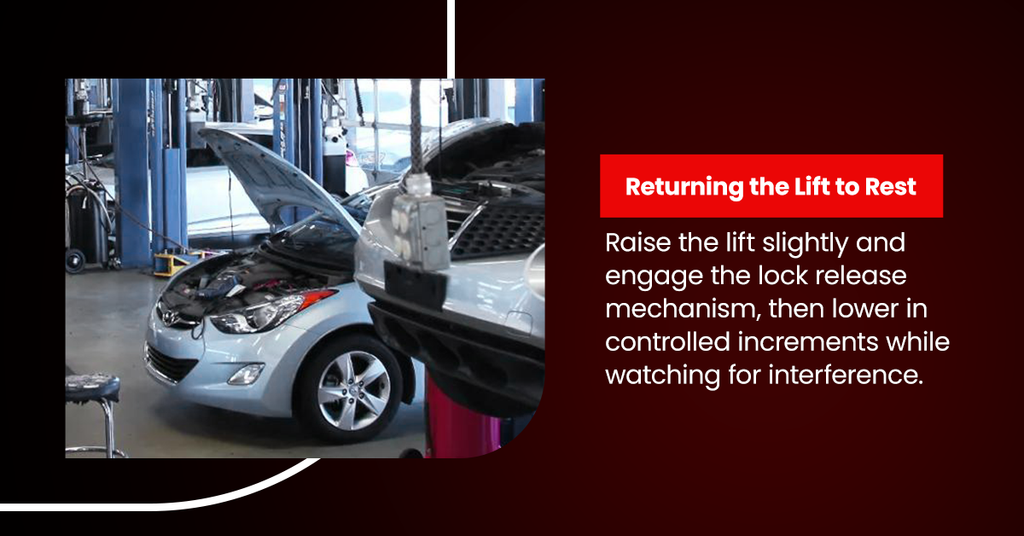
Once service is complete, clear all tools, jack stands, creepers and drain pans from beneath the vehicle. Raise the lift slightly and engage the lock release mechanism, then lower in controlled increments while watching for interference.
When tires contact the floor, pause to confirm the vehicle sits level before completing the descent. On two-post lifts, swing arms to their parked position. On other lift types, position pads and adapters out of the exit path.
Technician Training
Your shop needs a formal training program that documents what technicians learn and when. Proper education is a critical safety consideration when using vehicle lifts. The Automotive Lift Institute’s Lifting It Right program sets the benchmark for lift operator training and has earned wide recognition. Even experienced technicians benefit from structured training that reinforces proper procedures and introduces updates to safety protocols.
Documentation matters just as much. When a lift incident occurs, investigators will ask whether the operator received proper training. Documented records provide protection and demonstrate your commitment to compliance. They also help you manage turnover and ensure every person operating a lift has completed the required training.
Understanding Your Equipment
Different lift types serve distinct purposes, and understanding the systems you’re working with prevents misuse.
Load Capacity and Vehicle Weight
The rated capacity on your lift’s nameplate represents maximum load under ideal conditions. Treat this as a ceiling, not a target, and operate with a buffer accounting for toolboxes, lift kits and fifth-wheel hitches. If the nameplate is illegible, check the installation manual. Many shops lack a reliable way to verify vehicle weight. In-ground scales eliminate guesswork and prevent overloading.
Safety Locks
Mechanical safety locks engage automatically as you raise a vehicle. These components serve a different purpose than hydraulic cylinders. While hydraulic systems lift the vehicle, they aren’t designed to hold loads for extended periods. Mechanical locks provide direct structural support independent of fluid pressure.
This redundancy protects against seal deterioration, hose rupture and valve malfunction. If hydraulic pressure drops while a technician works underneath, mechanical locks prevent crush injuries. Always lower your lift to its locks before going under any vehicle.
Hydraulic Car Lift Safety Regulations
OSHA doesn’t maintain a specific standard for automotive lifts, but enforces safety through its General Duty Clause, which requires workplaces to be free from recognized hazards. OSHA acknowledges the ANSI/ALI ALOIM standard as the industry benchmark for lift operation, inspection and maintenance. If your shop follows this standard, you’re demonstrating due diligence.
Among the car lift safety rules is an annual inspection by a qualified professional. Find certified inspectors through the Automotive Lift Institute’s directory or Rotary Authorized Installers network. Keep detailed inspection records to prove your compliance when OSHA representatives or insurers ask.
Upgrade Options for Older Lift Systems
Well-maintained lifts can serve your shop for decades. Consider upgrading when:
- Repairs eat profits: Constant service calls and extended downtime are quietly draining your bottom line.
- Capacity falls short: Your older equipment can’t safely handle the trucks and SUVs you want to service.
- Parts become obsolete: Sourcing replacements takes weeks, leaving bays out of commission.
- Safety features lag behind: Older lifts lack modern protections like automatic arm restraints, visual lock indicators and electronic load sensing.
Modern lifts offer faster cycle times, improving bay productivity, quieter operation, lower maintenance and integrated safety features.
Partner With the Experts in Lift Safety at Rotary Solutions
Daily inspections, proper operating procedures, training protocols and compliance standards give your shop the foundation to prevent lift incidents. Equipment built to industry safety standards, along with proper procedures, training and inspections, helps keep your bays safe.
Rotary invented the hydraulic vehicle lift a century ago and has spent every year since refining safety features, durability and efficiency. Our Rotary Authorized Installation (RAI) network connects you with certified, factory-trained technicians for installation, inspection and support with lift safety.
Browse our trusted range of car lifts and contact your nearest dealer for pricing today.
Contact Us
Rotary Solutions has the best, most extensive network in North America to support sales and service of our products in the field. The perfect resource for you is nearby.
Please fill out the form and let us know the specifics of what you need. We appreciate your interest, we’ll get back to you soon, and look forward to following up!